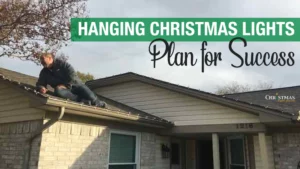
How to Hang Christmas Lights on Your Roof Safely
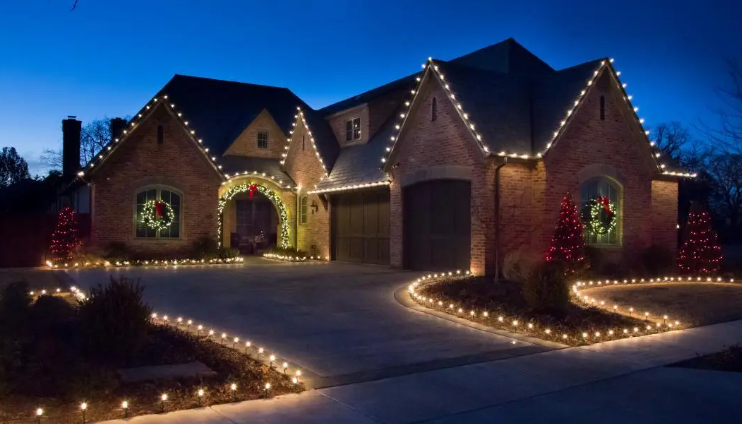
Now that Thanksgiving is through and we’ve all eaten our fill, we can shift our attention to the next big holiday. With Christmas comes lights, decorations, and the unfounded confidence that you know what you’re doing on your roof. To help keep you and your roof safe, here are 8 tips from our lead expert on how to hang Christmas lights on your roof.
Essential Tips for Safely Hanging Christmas Lights On Your Roof
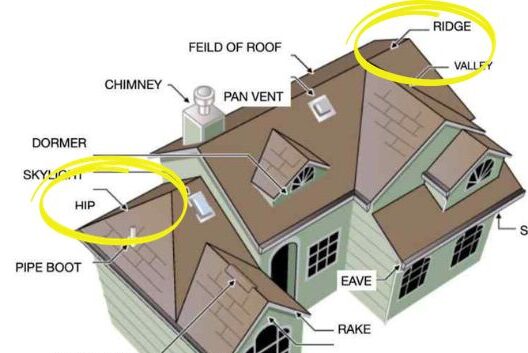
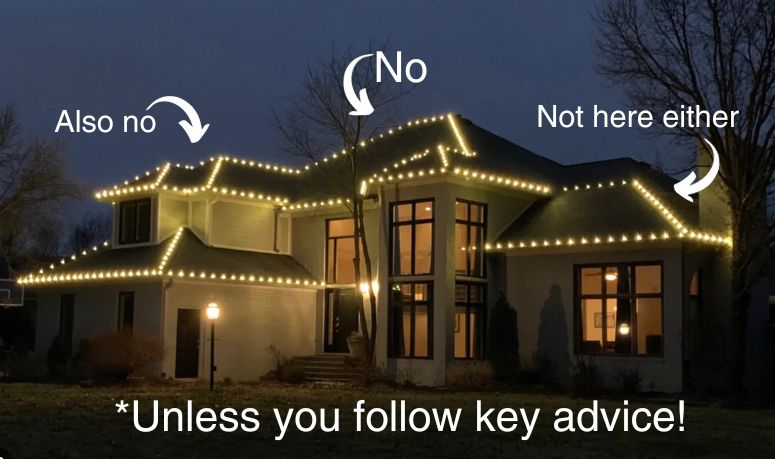
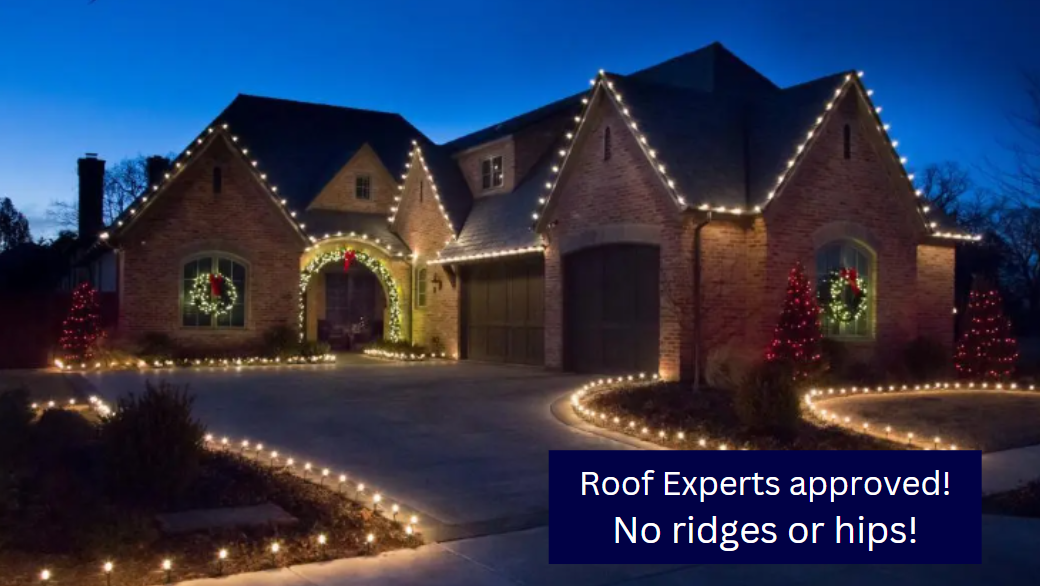
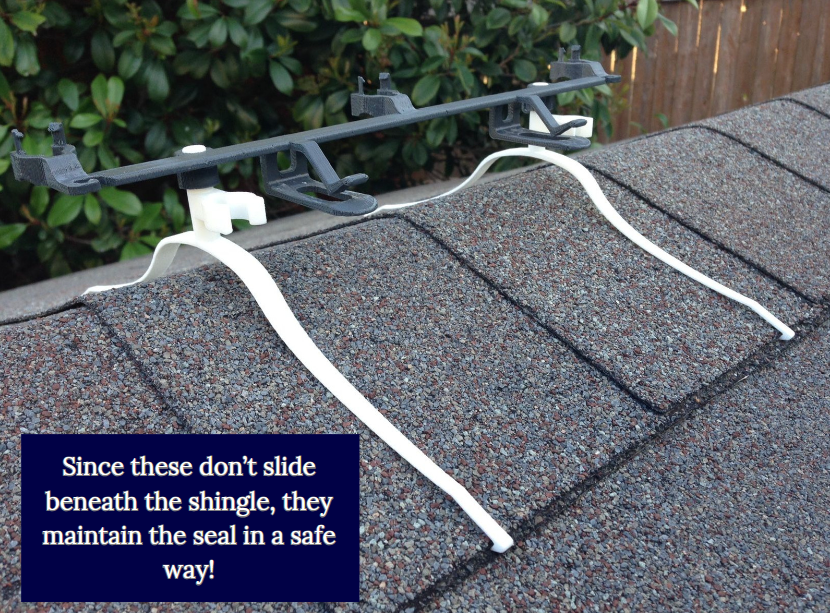
1. Do Not Attach Christmas Lights to the Ridge or Hip
But it looks so good! We know. But there is good reason for this advice. Most light clips are not designed with the roof ridge in mind. Placing a standard clip here breaks the essential seal between the top and bottom shingles, leading to greater roof damage.
If you insist on the lined look, there are specific roof ridge clips. These clips simply grip the edge of the shingle, keeping the seal in tact. Note that these clips can be harder to find and have a higher price point. But if you are dedicated to the lined look, these are the only way to go.
2. Do Not Staple Your Lights to Your Shingles
Do you have a bunch of spare shingles lying around and have a roofer friend who owes you a favor? No? Then don’t staple your shingles. They don’t self-repair.
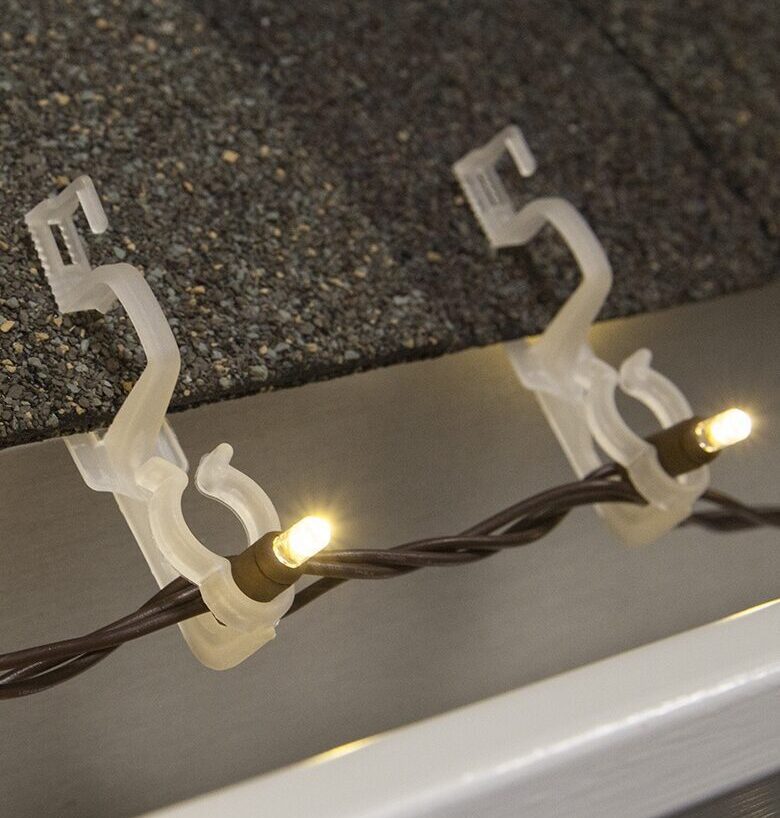

3. Use Clips
Roofers everywhere rejoiced at the invention of these handy clips! Yes, they are more expensive than staples in your staple gun. However, they are reusable year after year and do not damage your roof line or gutters. Remember, there are 2 kinds of clips! Make sure you are using the right ones in the right places.

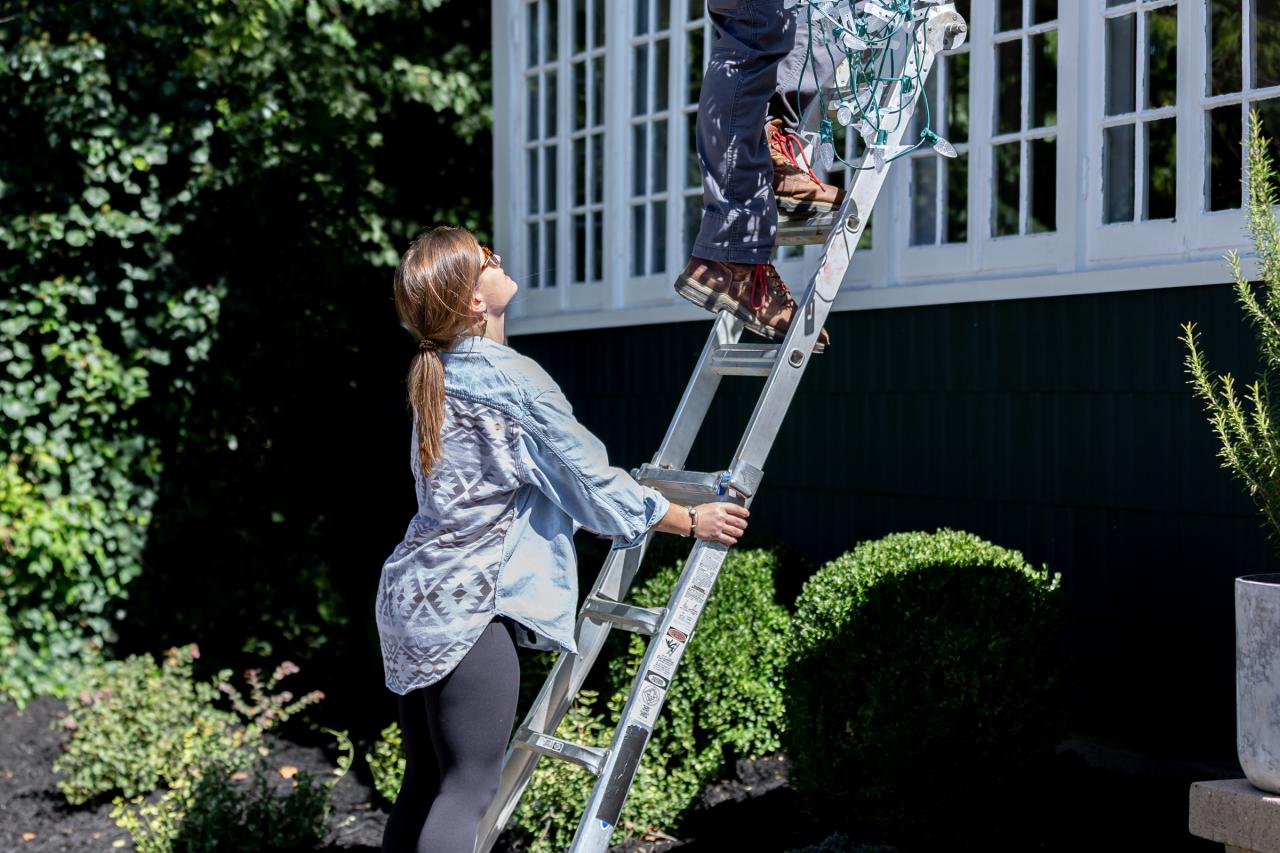
4. Believe in the Buddy System
If putting up your lights requires a ladder or climbing onto your roof, have a buddy close by! More than 5,000 people sustain injuries each year from falling while decorating.
Stay safe and take the excuse to invite a friend over.
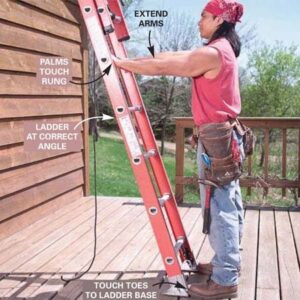
5. Pay Attention to Ladder Placement
Make sure your ladder is placed correctly and is meant for the job. The cute ladder holding blankets in your living room can stay right where it is. Once you have the right ladder, note that leaning it against the gutters may not be the best choice. Your gutters are strong but a leaning ladder can bend them and scratch paint. Not the end of the world but worth noting as you decorate.
6. Measure Twice, Hang Once
Now that your friend is over and you have the right ladder, you can safely measure where you want to put your lights. Be sure to measure twice and jot it down so that you purchase the right length of lights.
Remember to consider scale as well! Do you want your lights to look like a sparkly trail of ants or like illuminated tennis balls? There’s no wrong answer- but be sure you know what you’re looking for before you buy. Check out this guide to make sure you get the look you want.
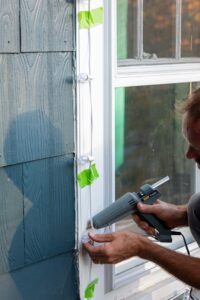
7. Hot Dang! Hot Glue!
Yes! Hot glue! Use hot glue around your windows and chimneys. Just because there’s nothing to clip to doesn’t mean lights can’t happen. Hot glue is safe and effective at holding lights in place. It usually takes 24 hours to cure completely so be sure to hold your lights in place with painters tape in the interim. Unpainted surfaces do the best here!
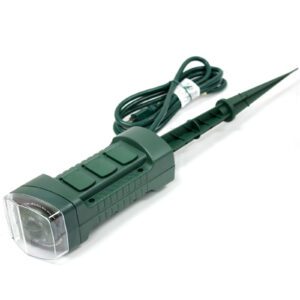
8. Break Check
Check your breakers so you don’t overload them. If you think you’re at risk of doing so, you should consider a grounded stake. As always, keep safety in mind! Be sure you know the location of your ground wires if you are using a long stake and make sure all of your cords are for outdoor use.
Make Sure Your Roof Is Ready For Santa To Land! Schedule Your Roof Inspection Today!
We hope that these tips of how to hang Christmas lights on your roof safely will help you achieve your decorating dreams! Grab a friend and some basic tools and get in the holiday spirit. Send us your beautiful roofs for our holiday instagram!